Computer-Controlled Cutting


Cardboard Press-Fit Construction

Press Fit Tutorial

For this portion of the weekly assignment, we were tasked in designing a cardboard press fit construction kit and then use a laser cutter to cut out the designed pieces. To get use to the laser cutter and get the settings right on the machine, Steven Fett suggested we first work through a tutorial. The tutorial files I used can be found here: Universal Snap Fit. After downloading the files, I opened them in Adobe Illustrator (AI), as shown in Figure 1. From this figure it can be seen they provided 2D drawings for different thicknesses of material. I decided to chose the 3mm option and exported it to a new file within AI (Figure 2). Since the design was a bit small for my liking, I scaled it up to 400% its original size as shown in Figure 3. Another thing I had to change was the thickness of the lines of the drawing. Our laser cutter is set up a way in which it will cut designs that have a line thickness of 0.001" and engrave designs onto something that have a line thickness greater than 0.001". Since I wanted these cut out I had to change the line thickness to 0.001". Once that was done I measured out my cardboard (Figure 4) and placed it in the laser cutting machine. One lesson I learned with the laser cutter is to not trust the zero position of the laser. I actually had to cut out the design a few times before I got the position right of the laser to where the whole design was being cut out. Figure 5 shows the 3rd piece of measured cardboard in the laser cutting machine ready to be cut. I then ran my print (Figure 6) on the machine. I actually had to run my print two times in order for the laser to cut through the entire piece of cardboard so I could remove the pieces easily. Onces the machine was done cutting I was able to pop my pieces out of the cardboard and fit them together (Figures 7-9).
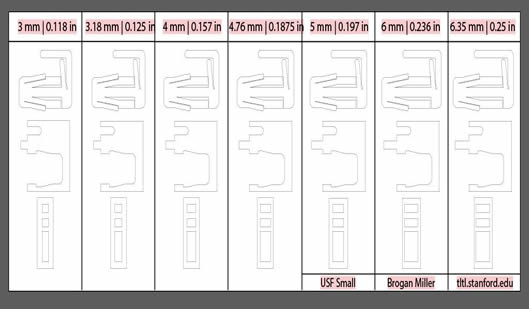
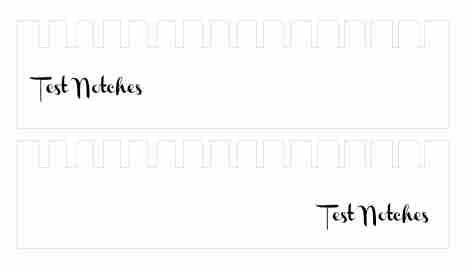
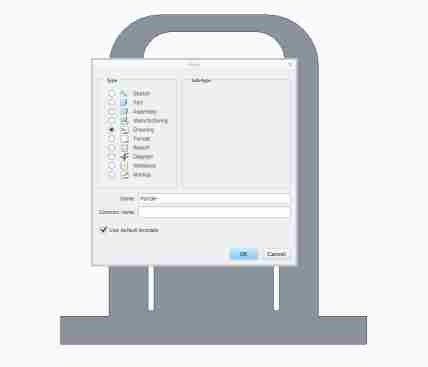
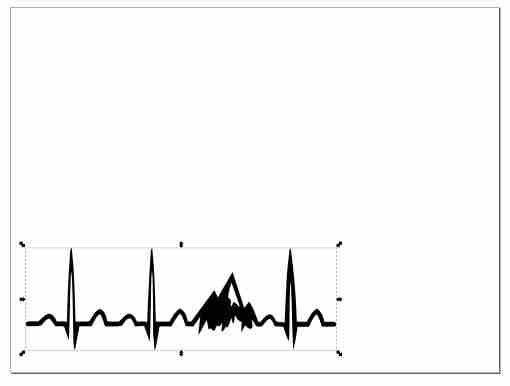
Figure 1: Tutorial File Downloaded and Uploaded to Adobe Illustrator
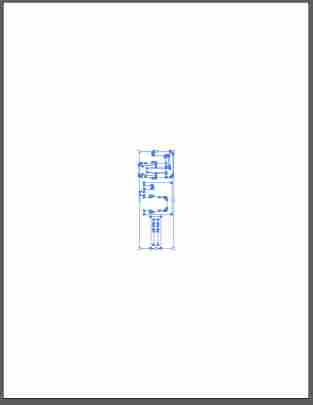
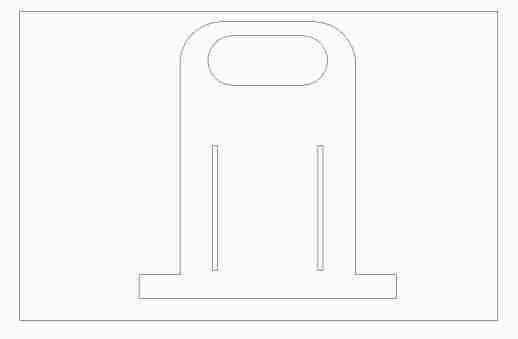
Figure 2: New File Created in AI with Chosen Thickness of Material
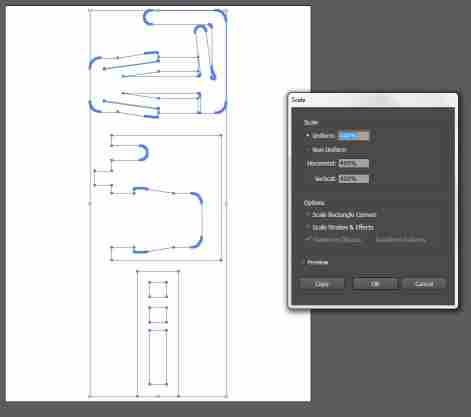
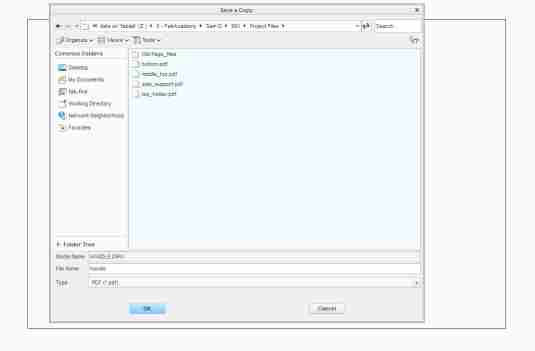
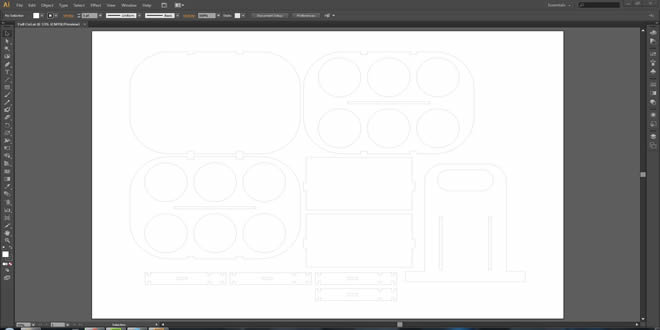
Figure 3: Resized Design
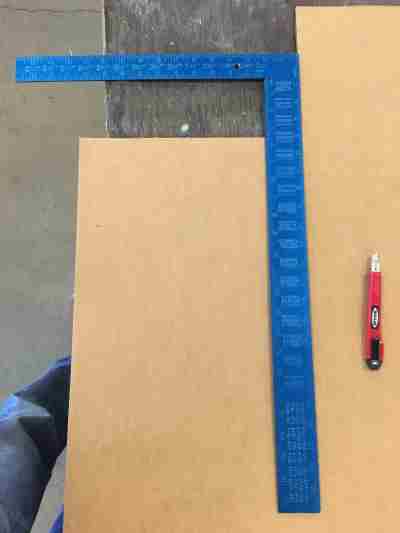
Figure 4: Measuring Out Piece of Cardboard for Laser Cutter
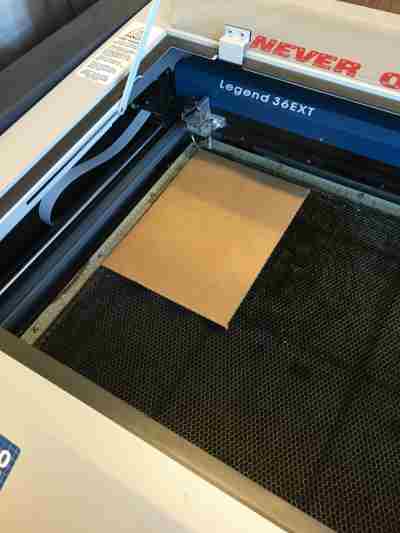
Figure 5: Measured out Piece Placed into Laser Cutting Machine
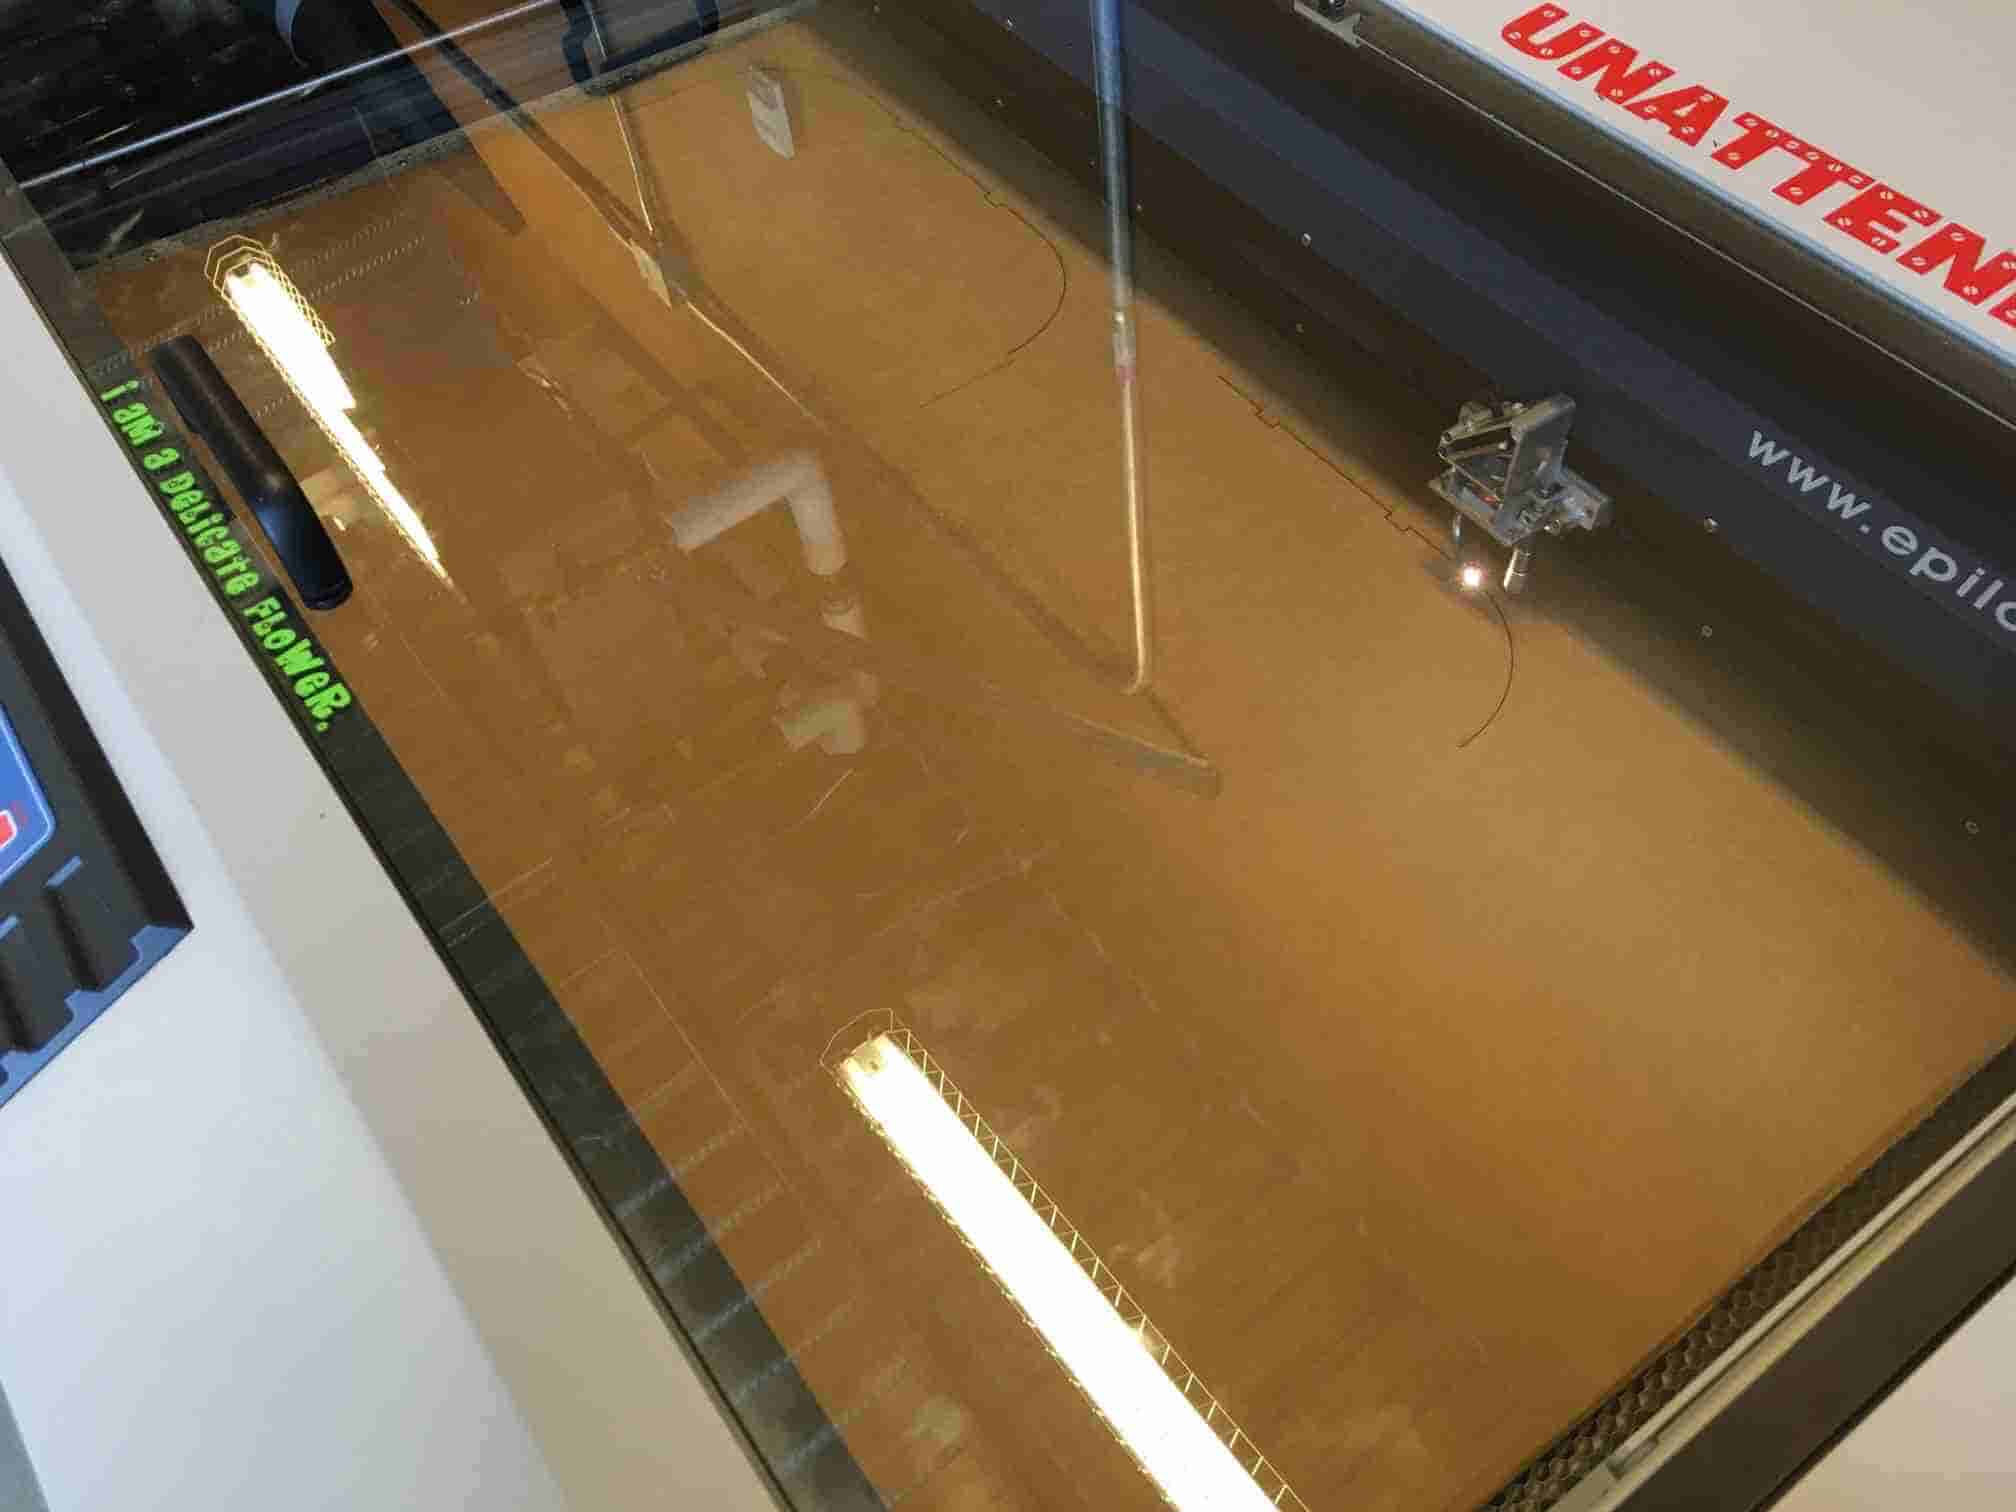
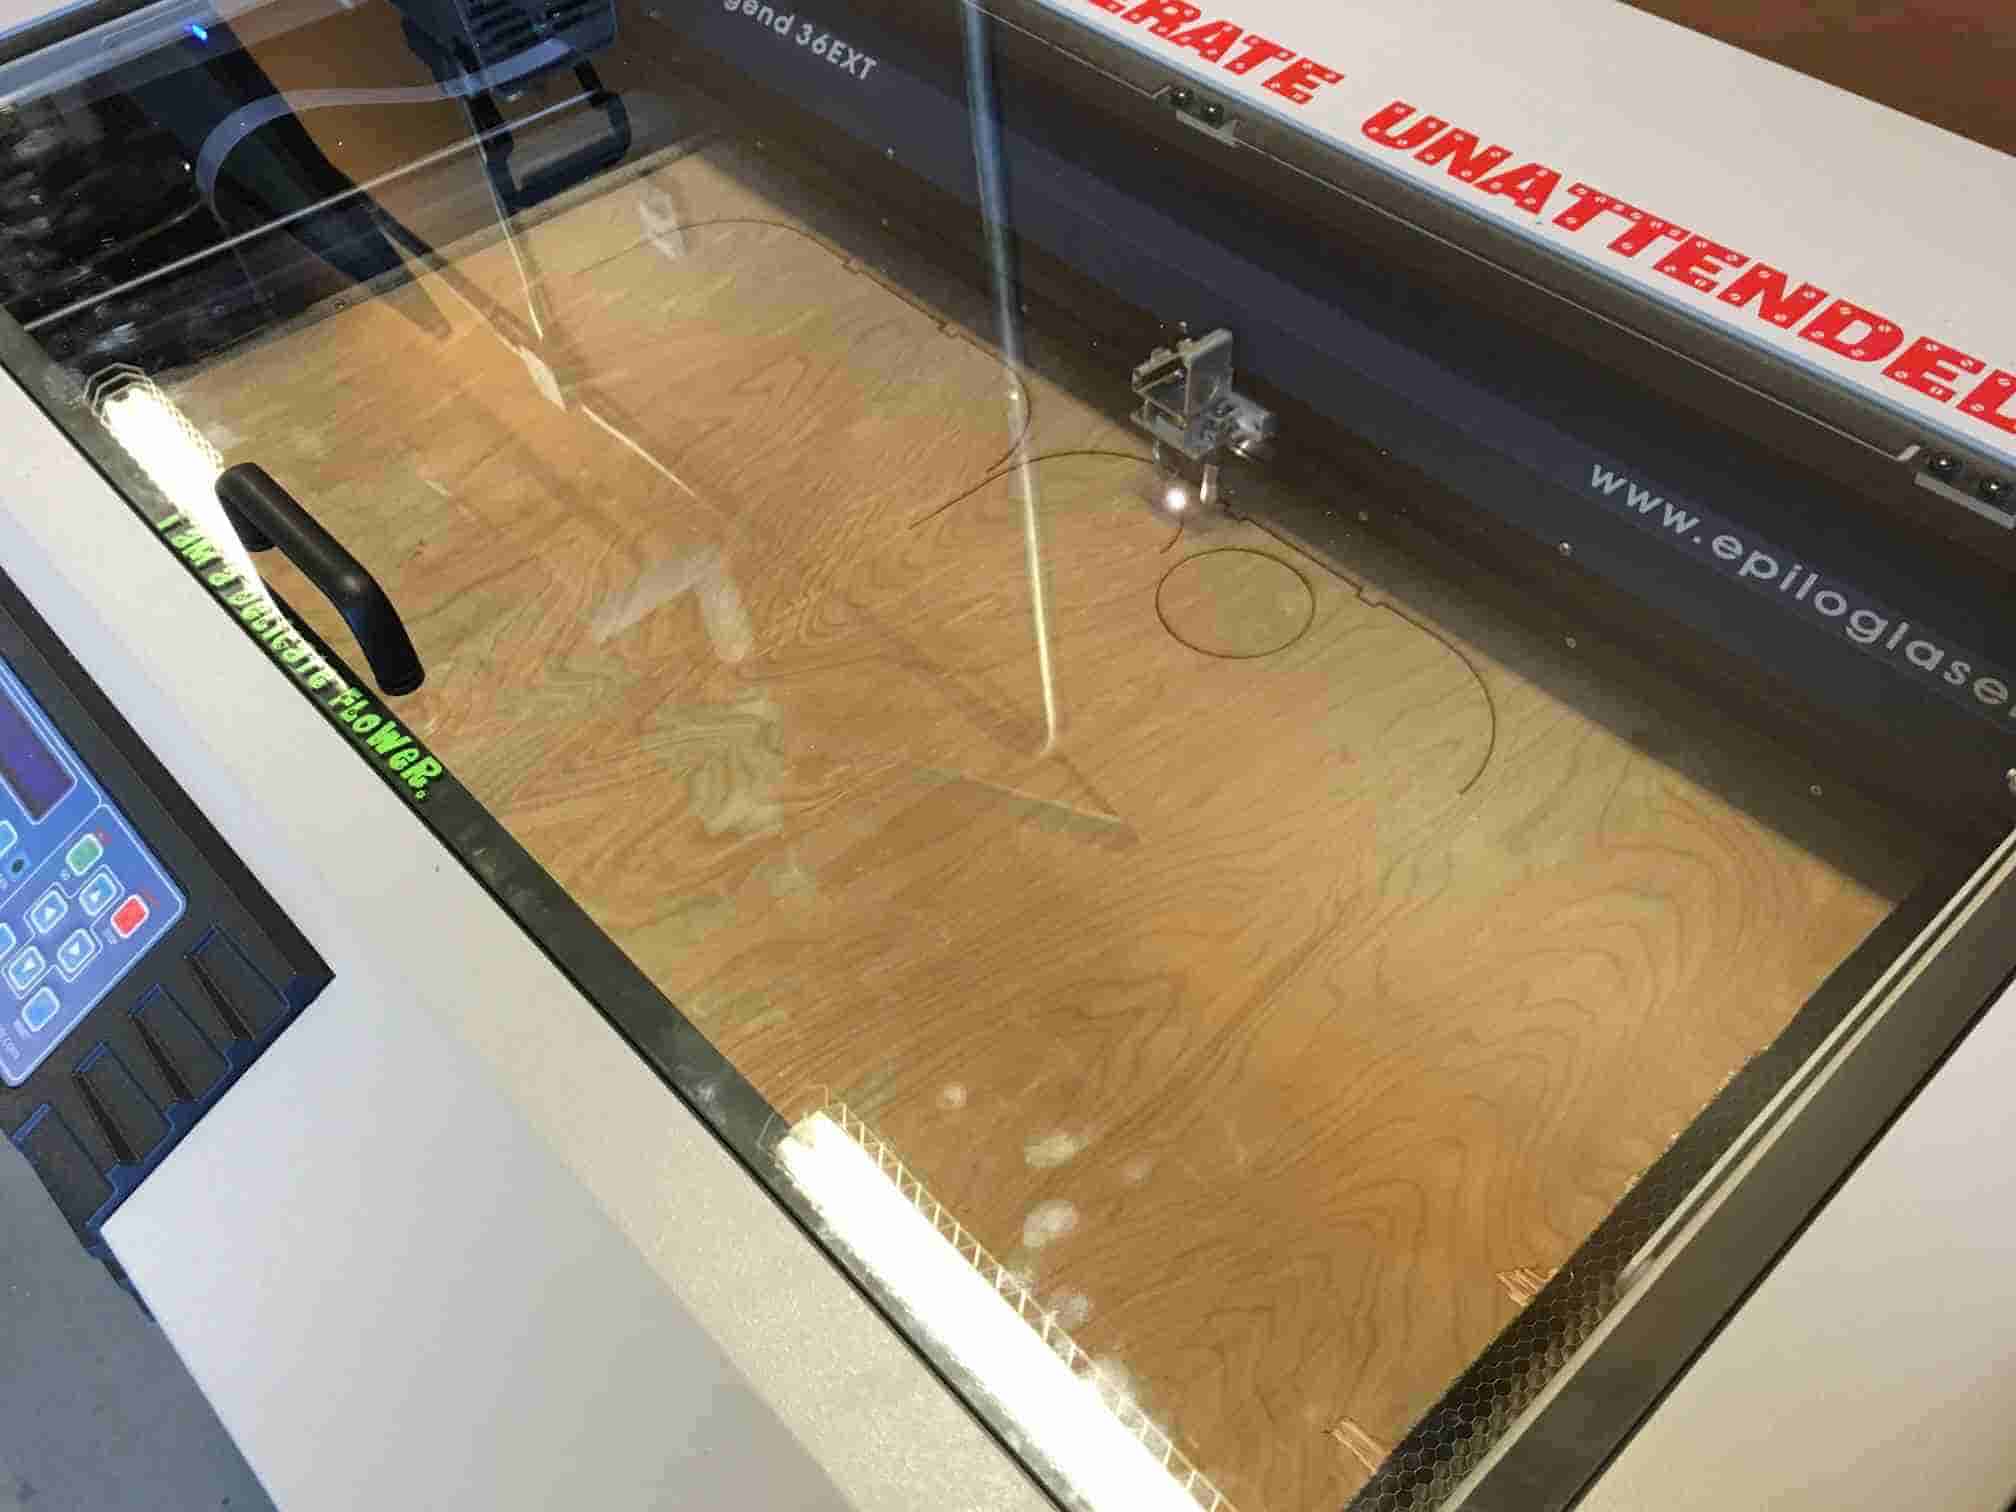
Figure 6: Laser Cutter Working its Magic
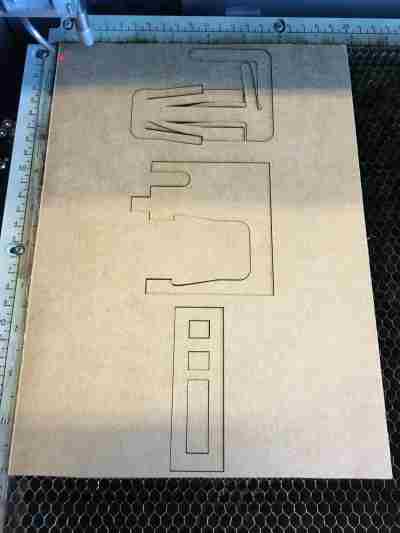
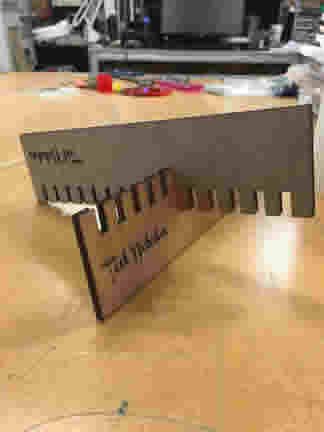
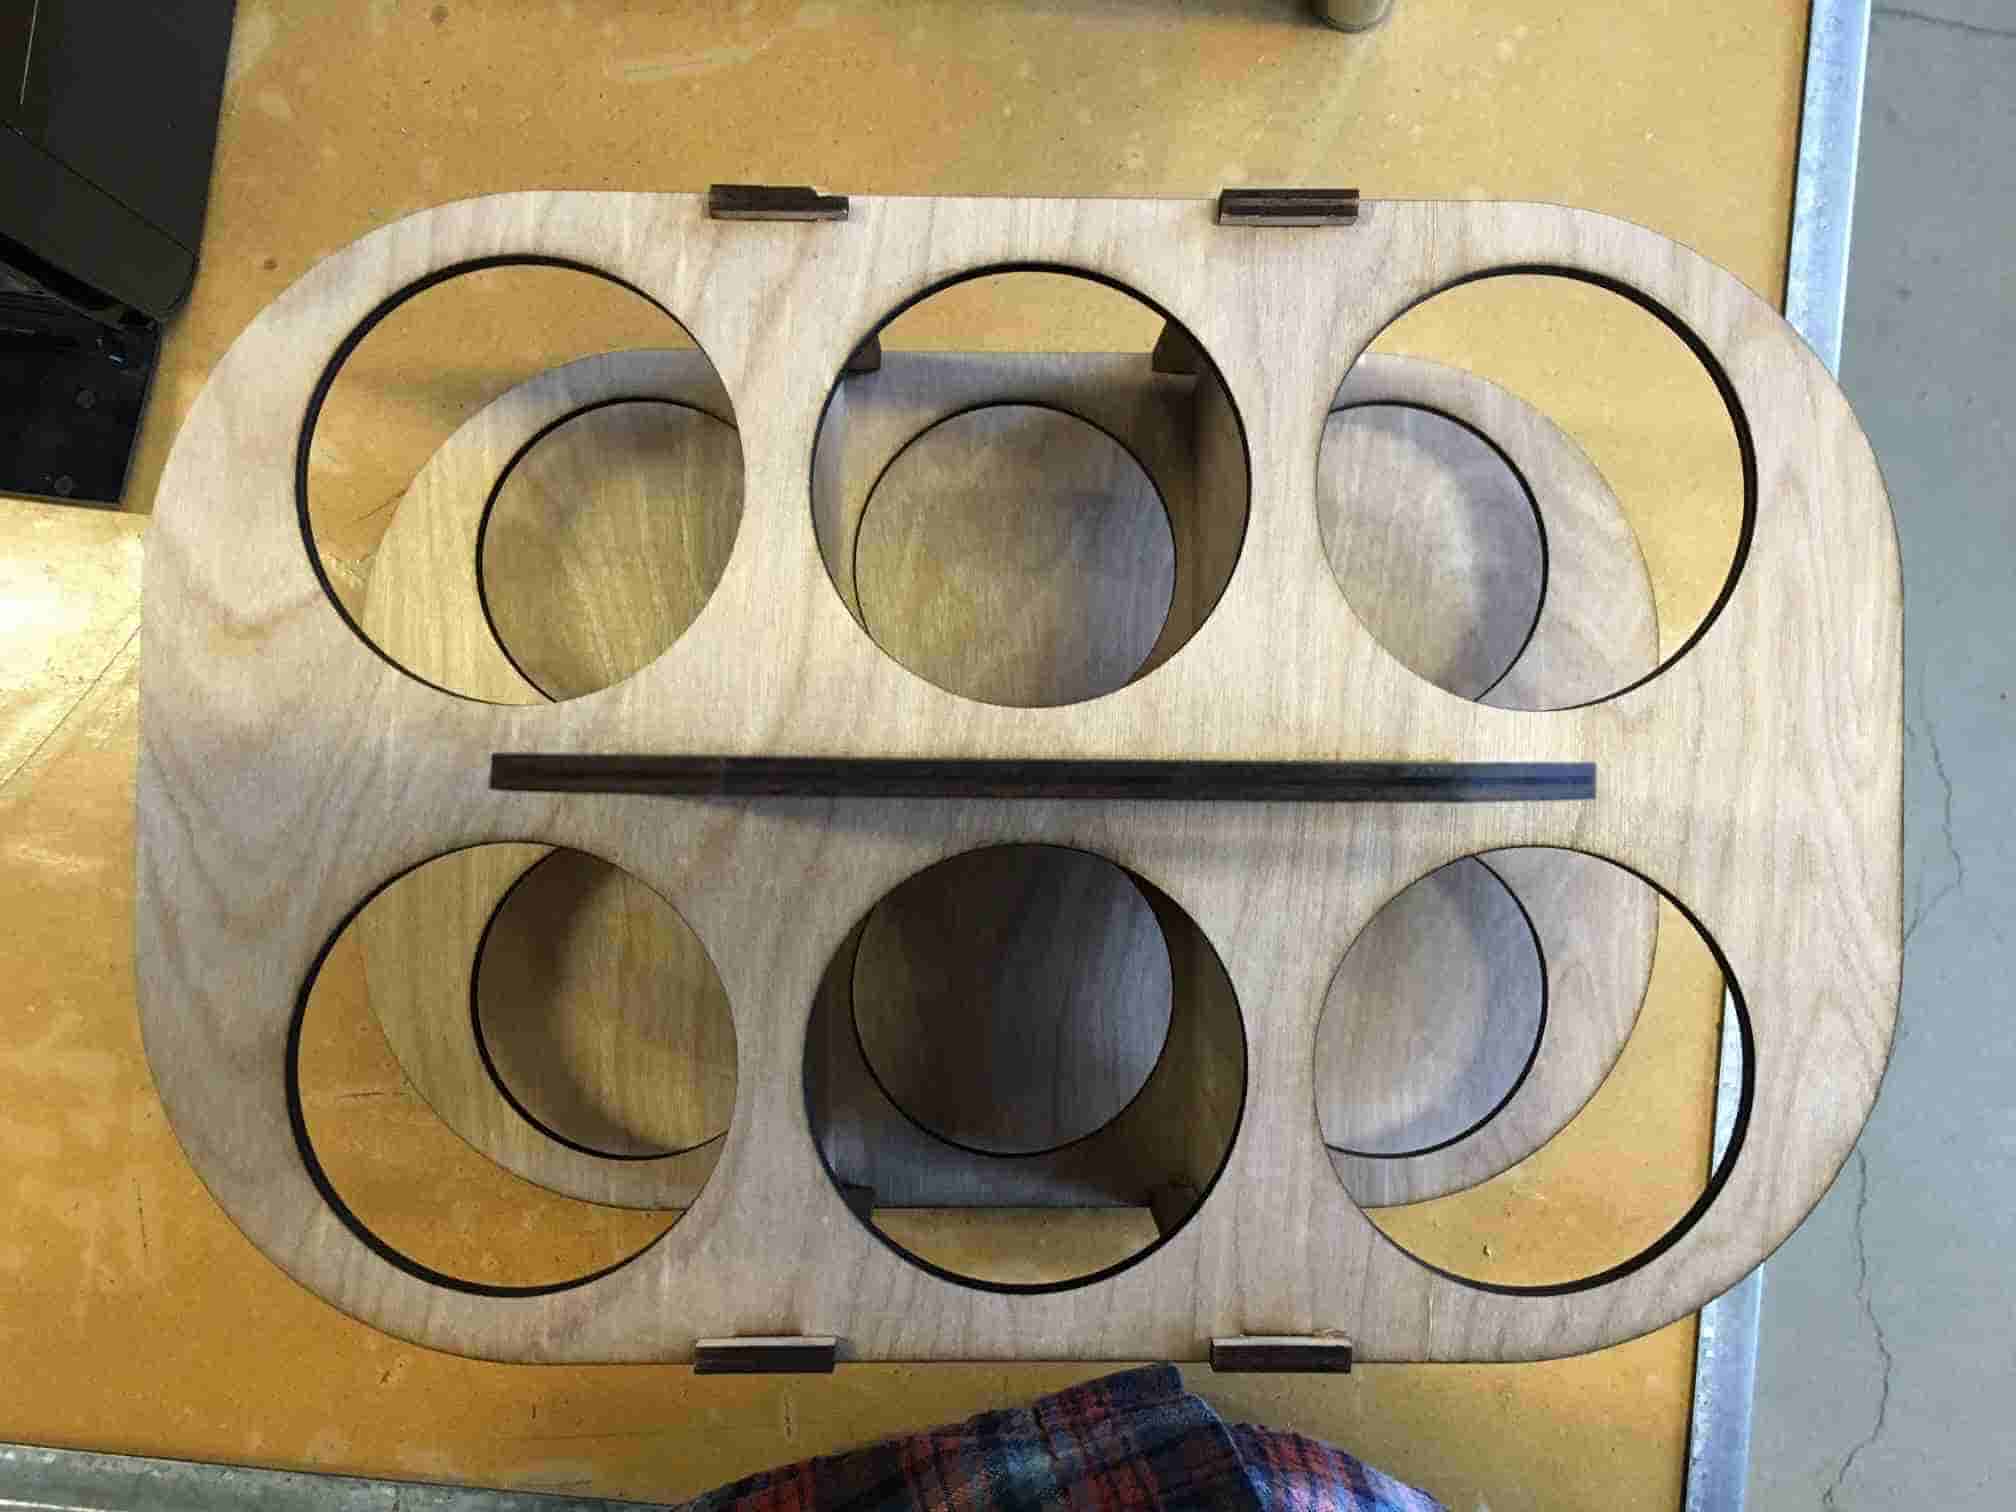
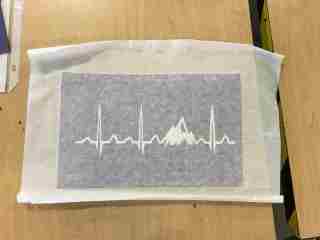
Figure 7: Laser Cutter Done Printing on Cardboard
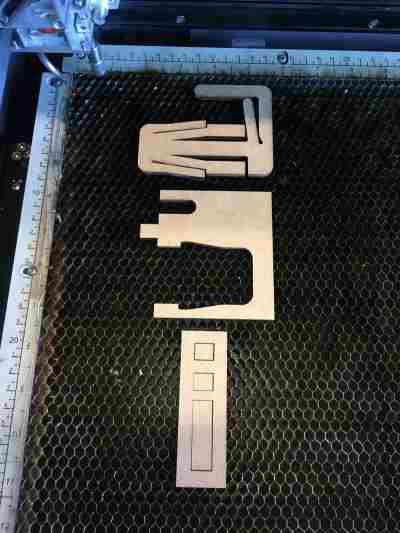
Figure 8: Pieces Popped Out of Cardboard
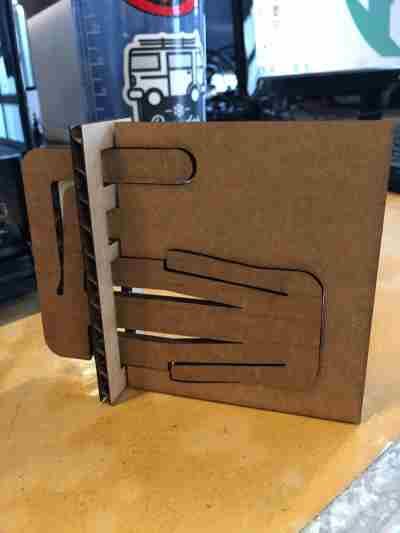
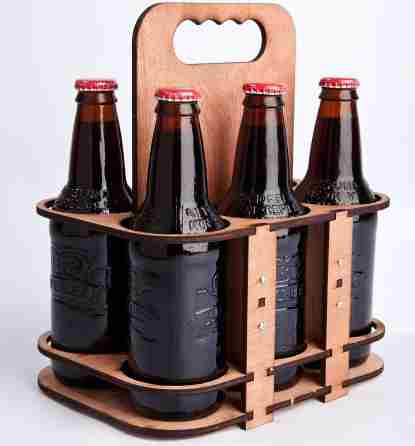
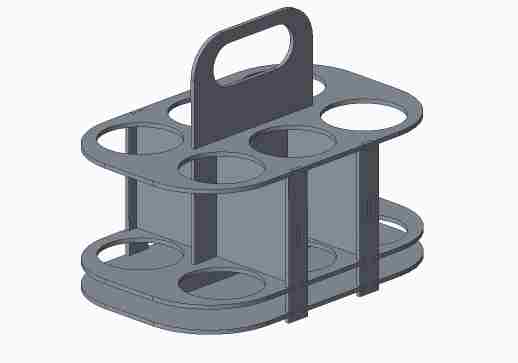
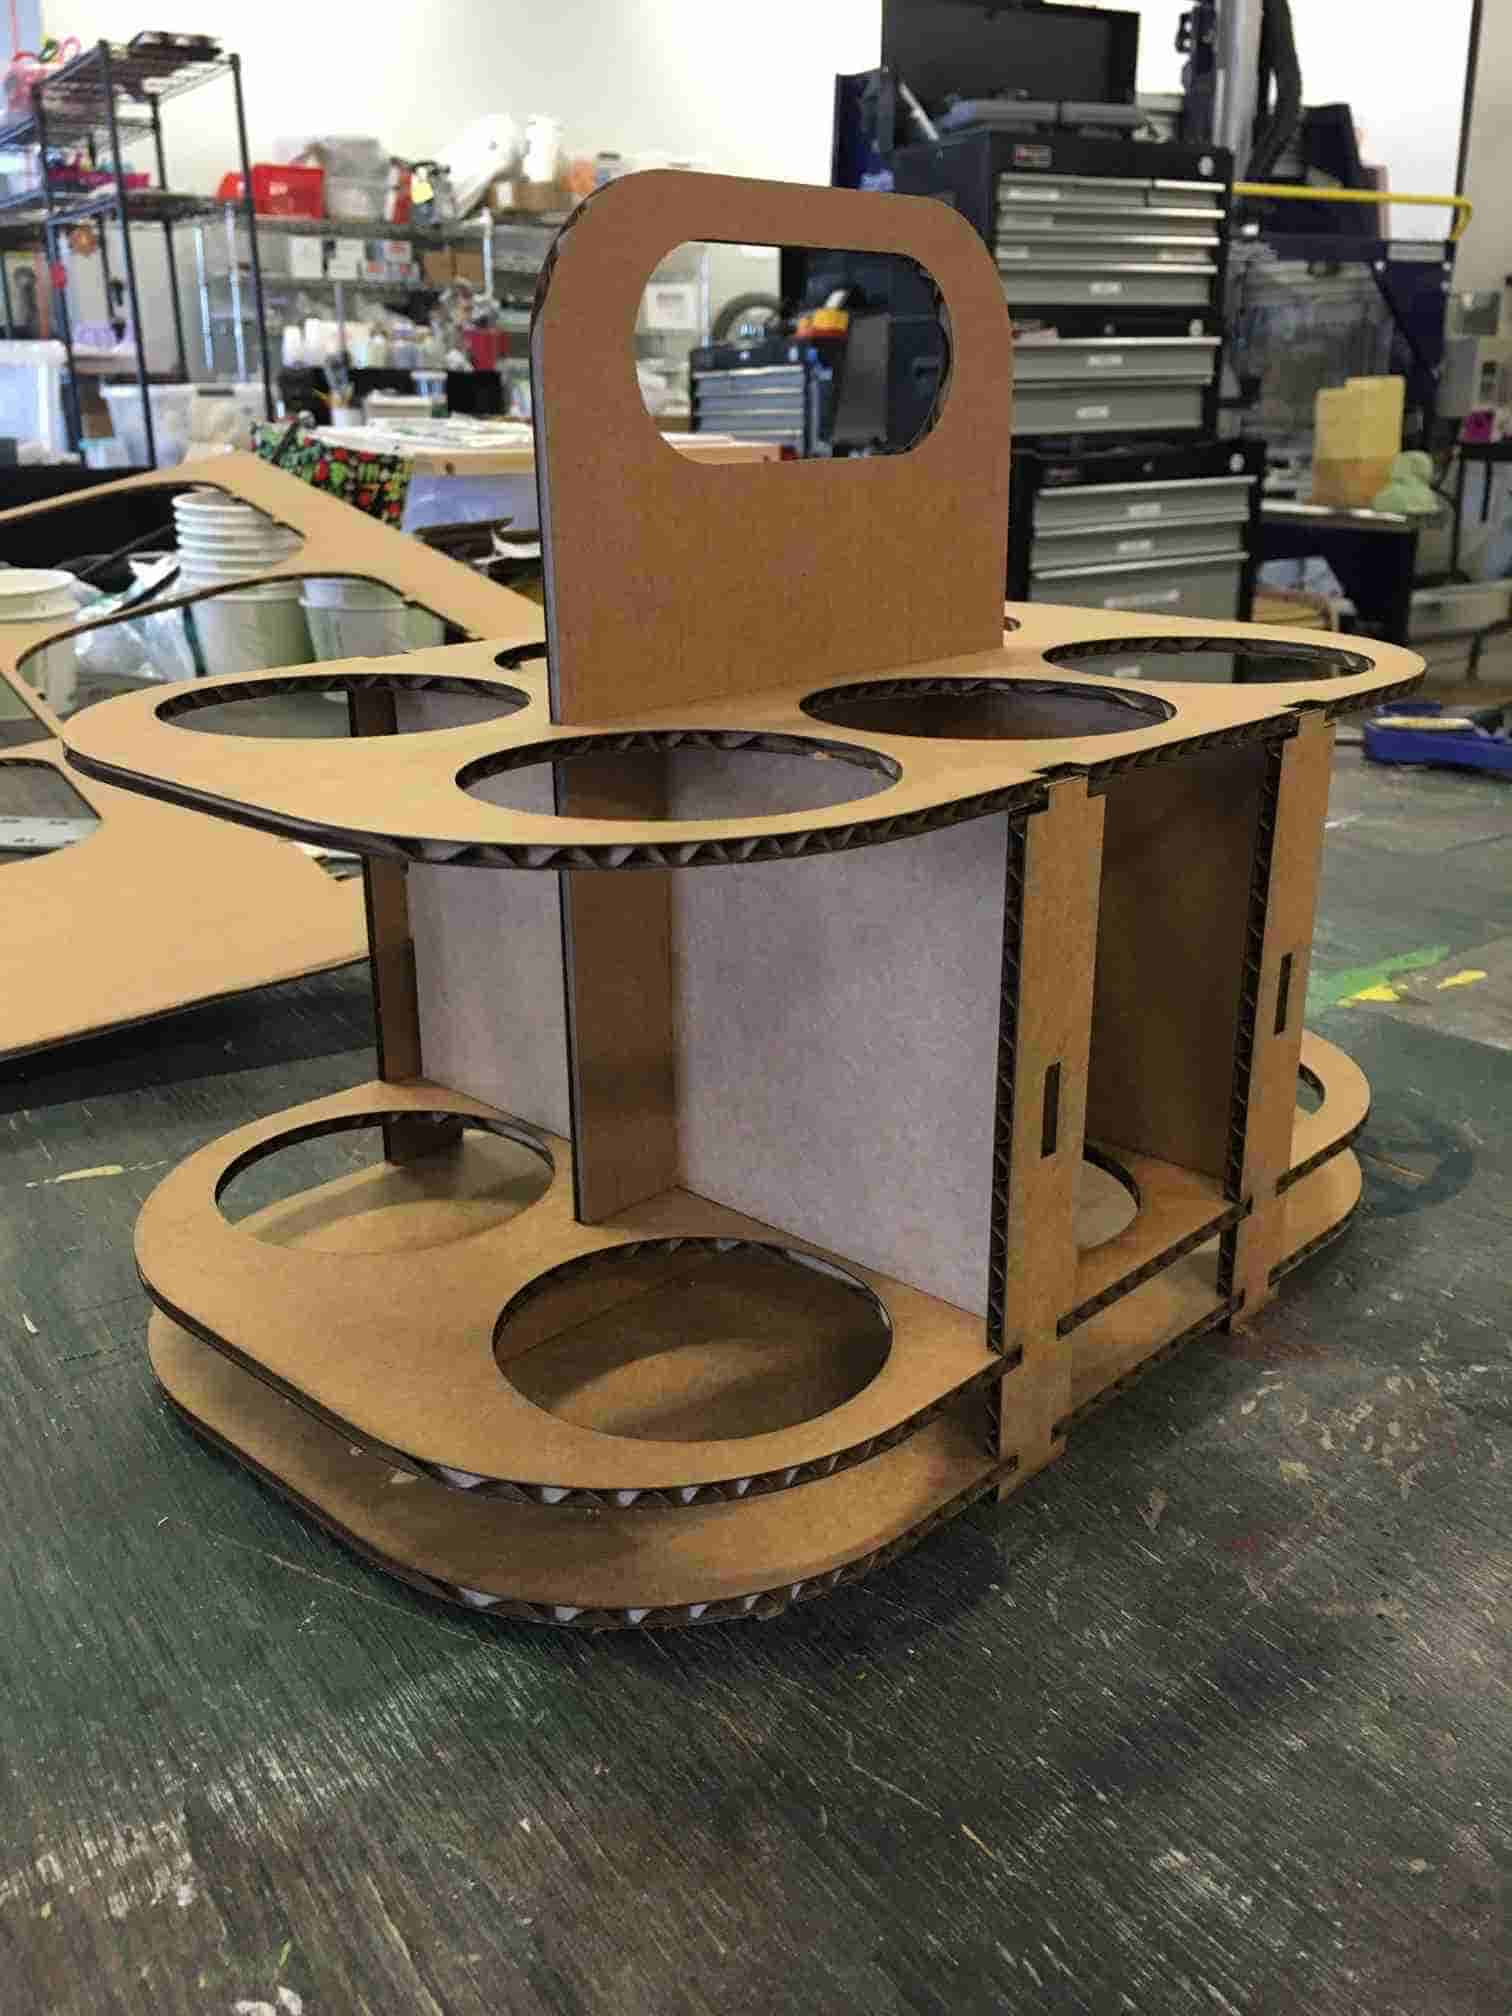
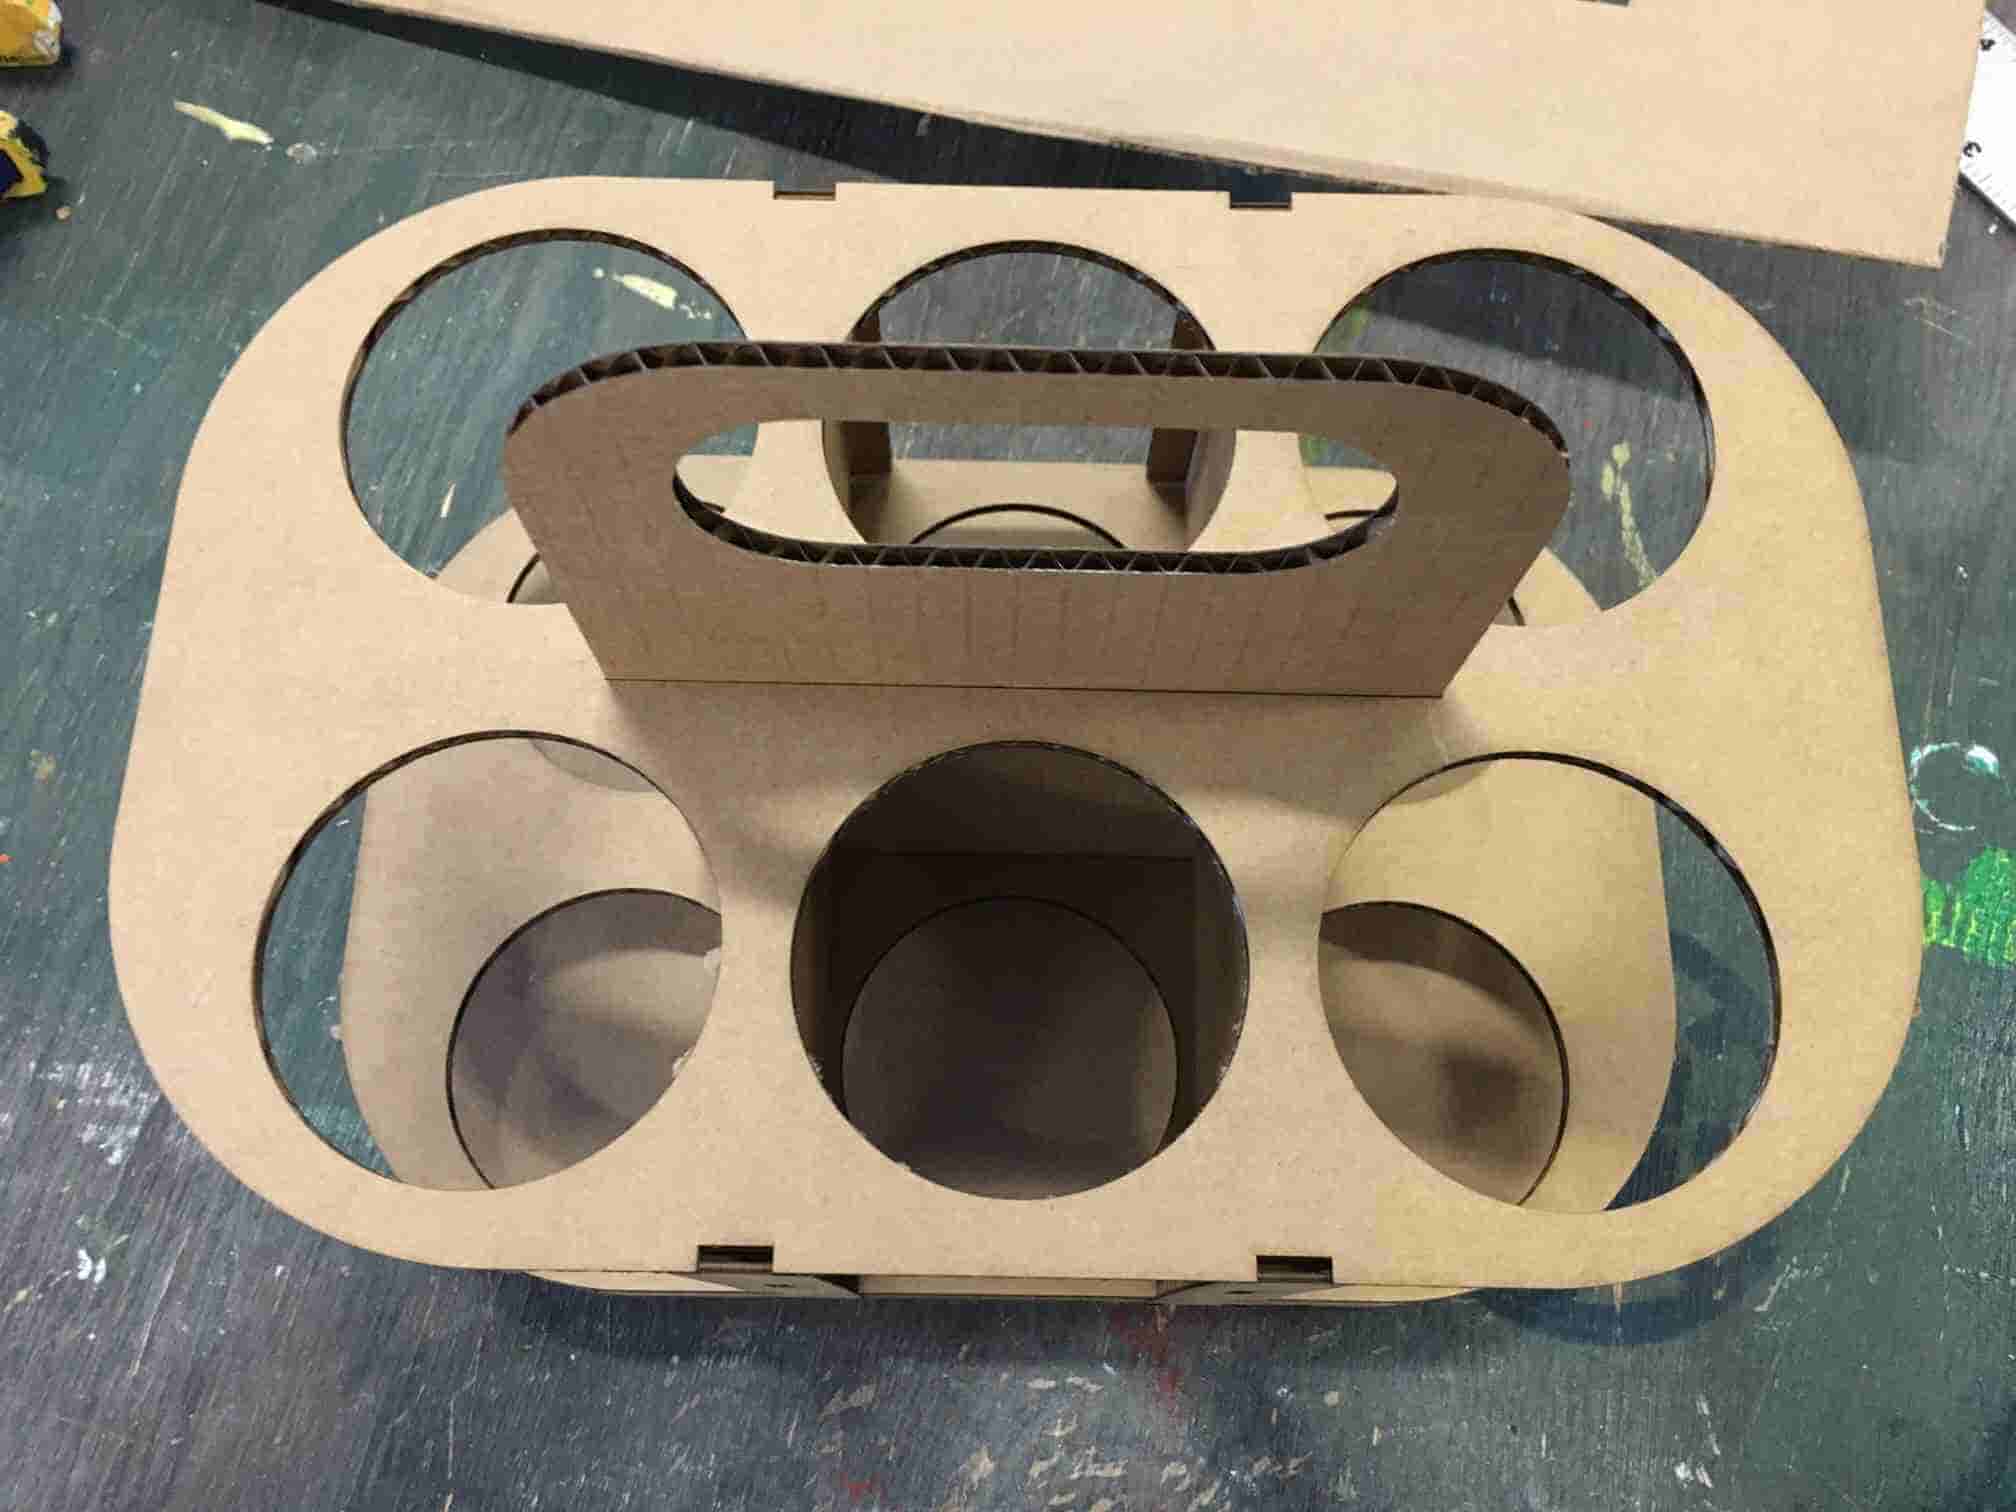
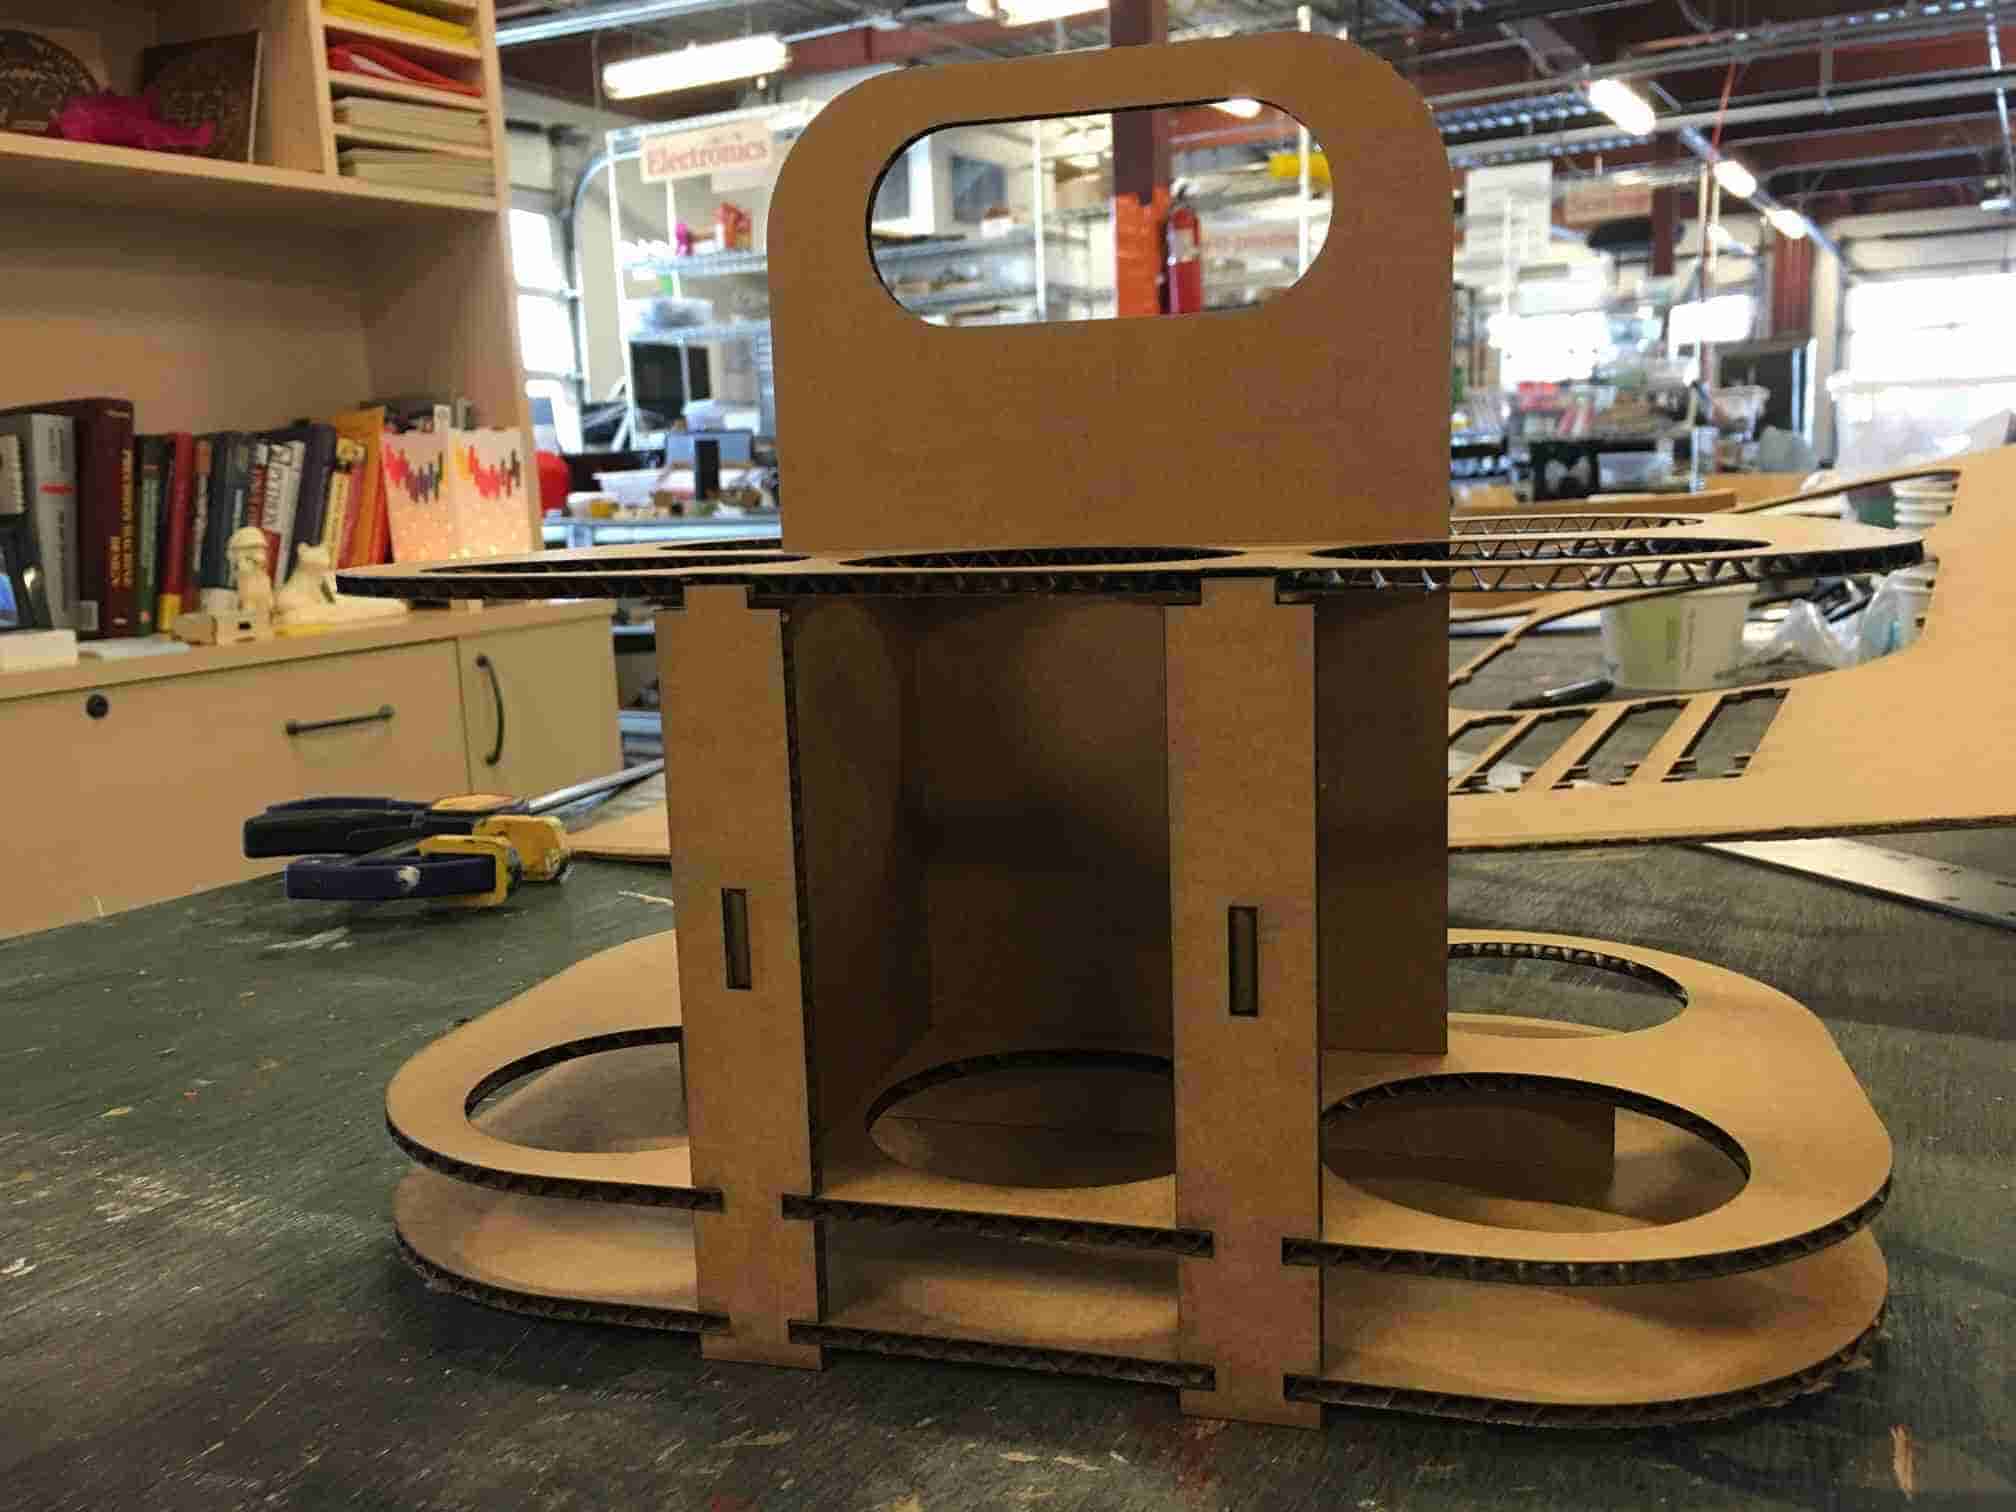
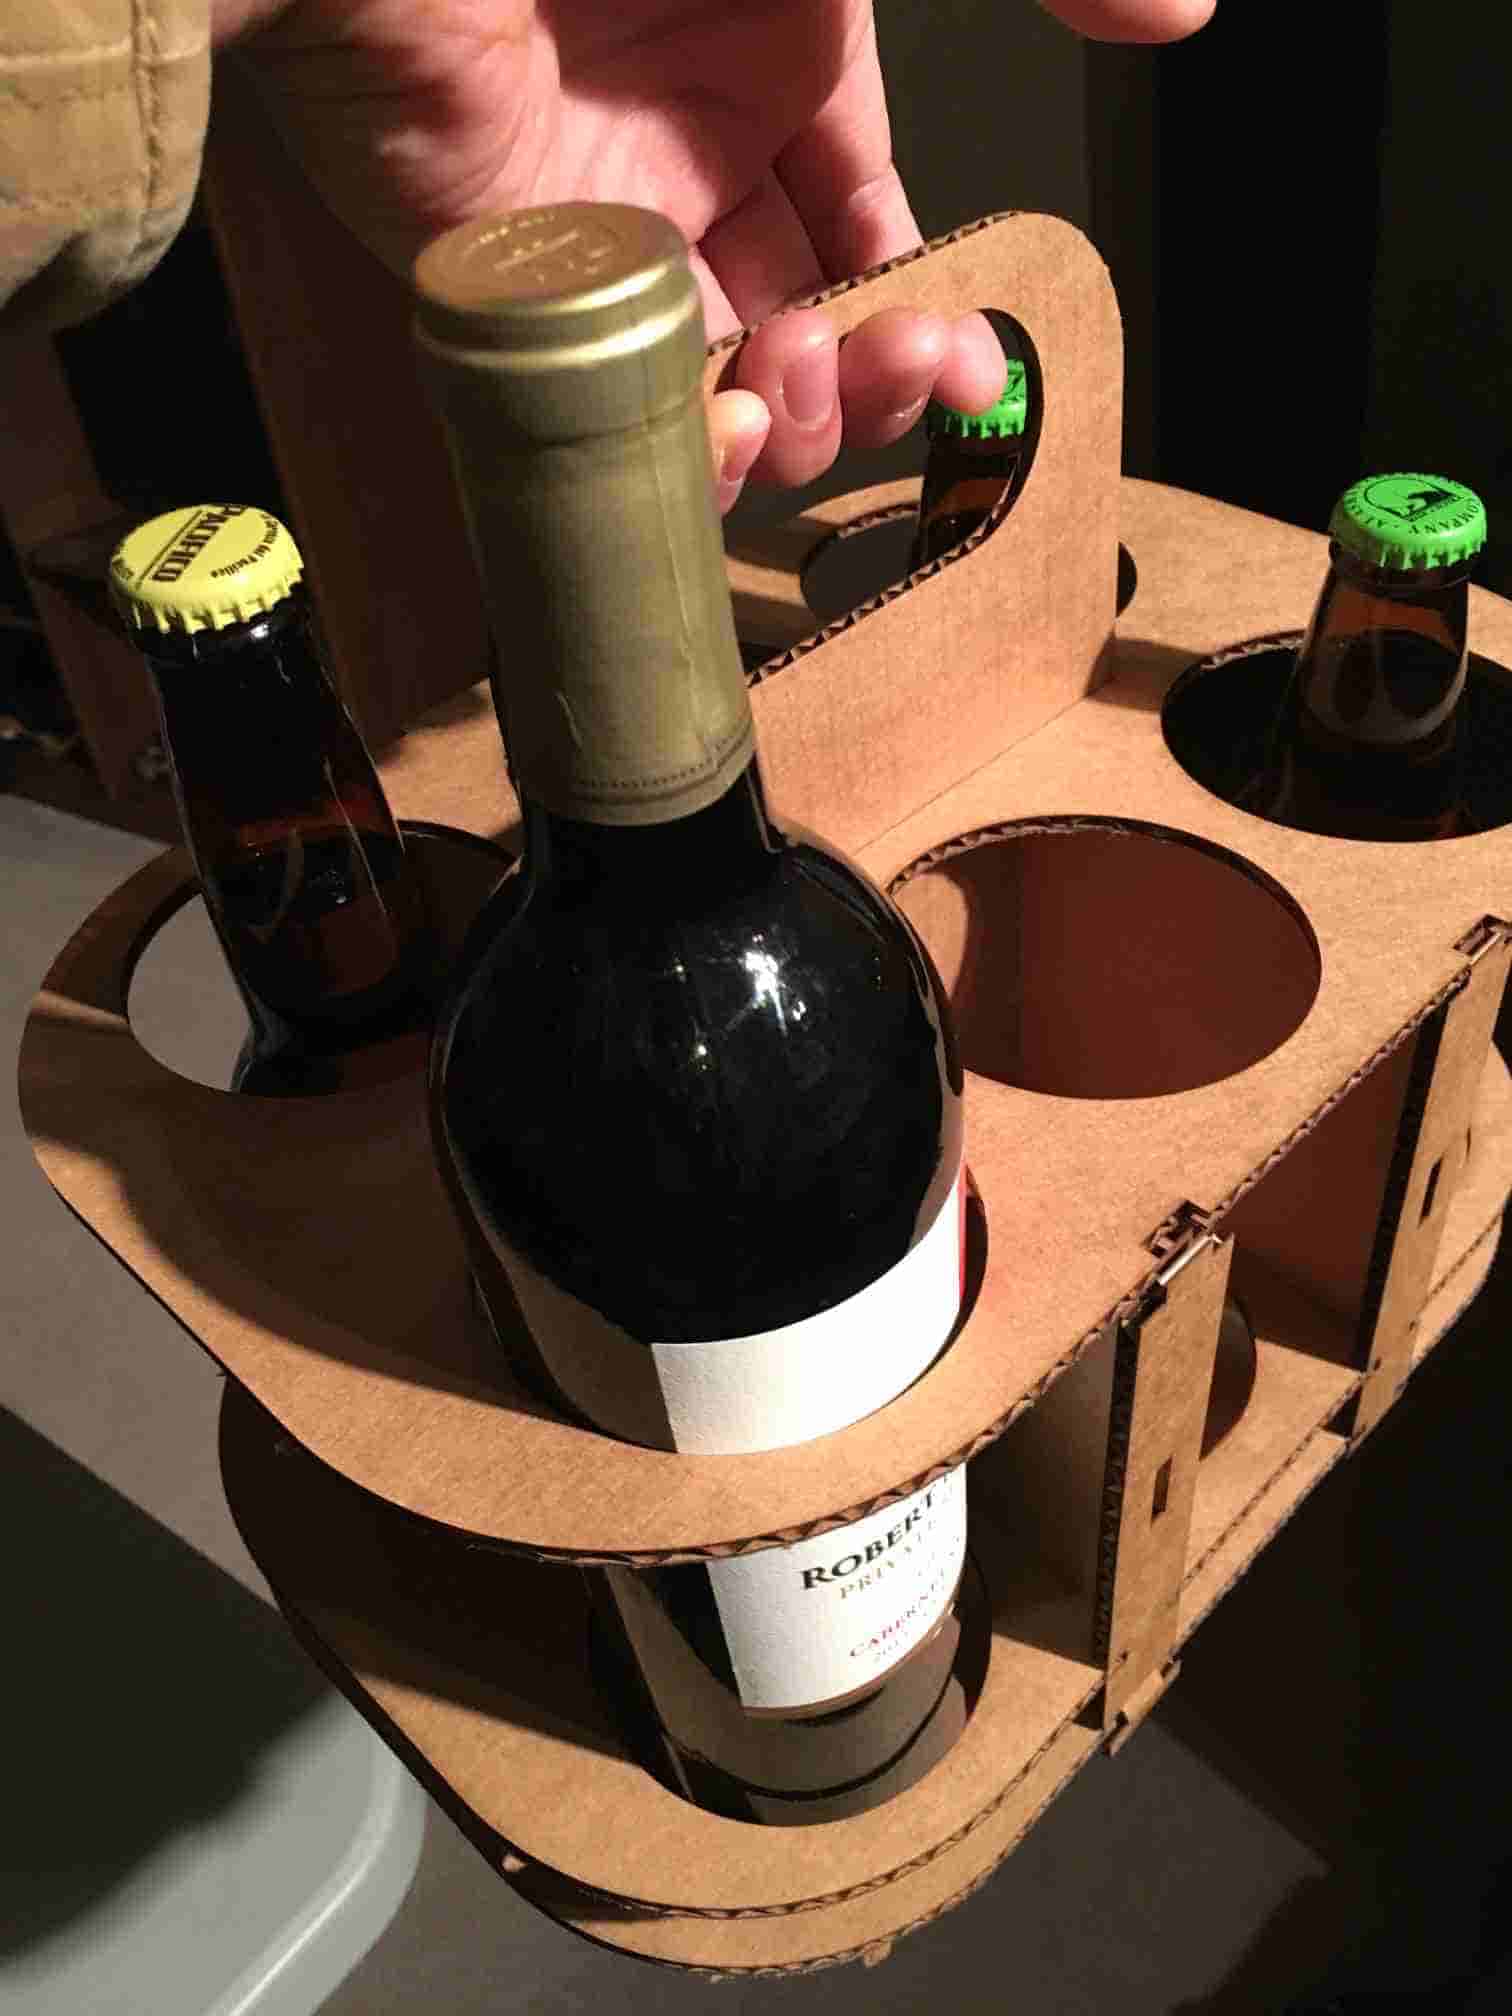
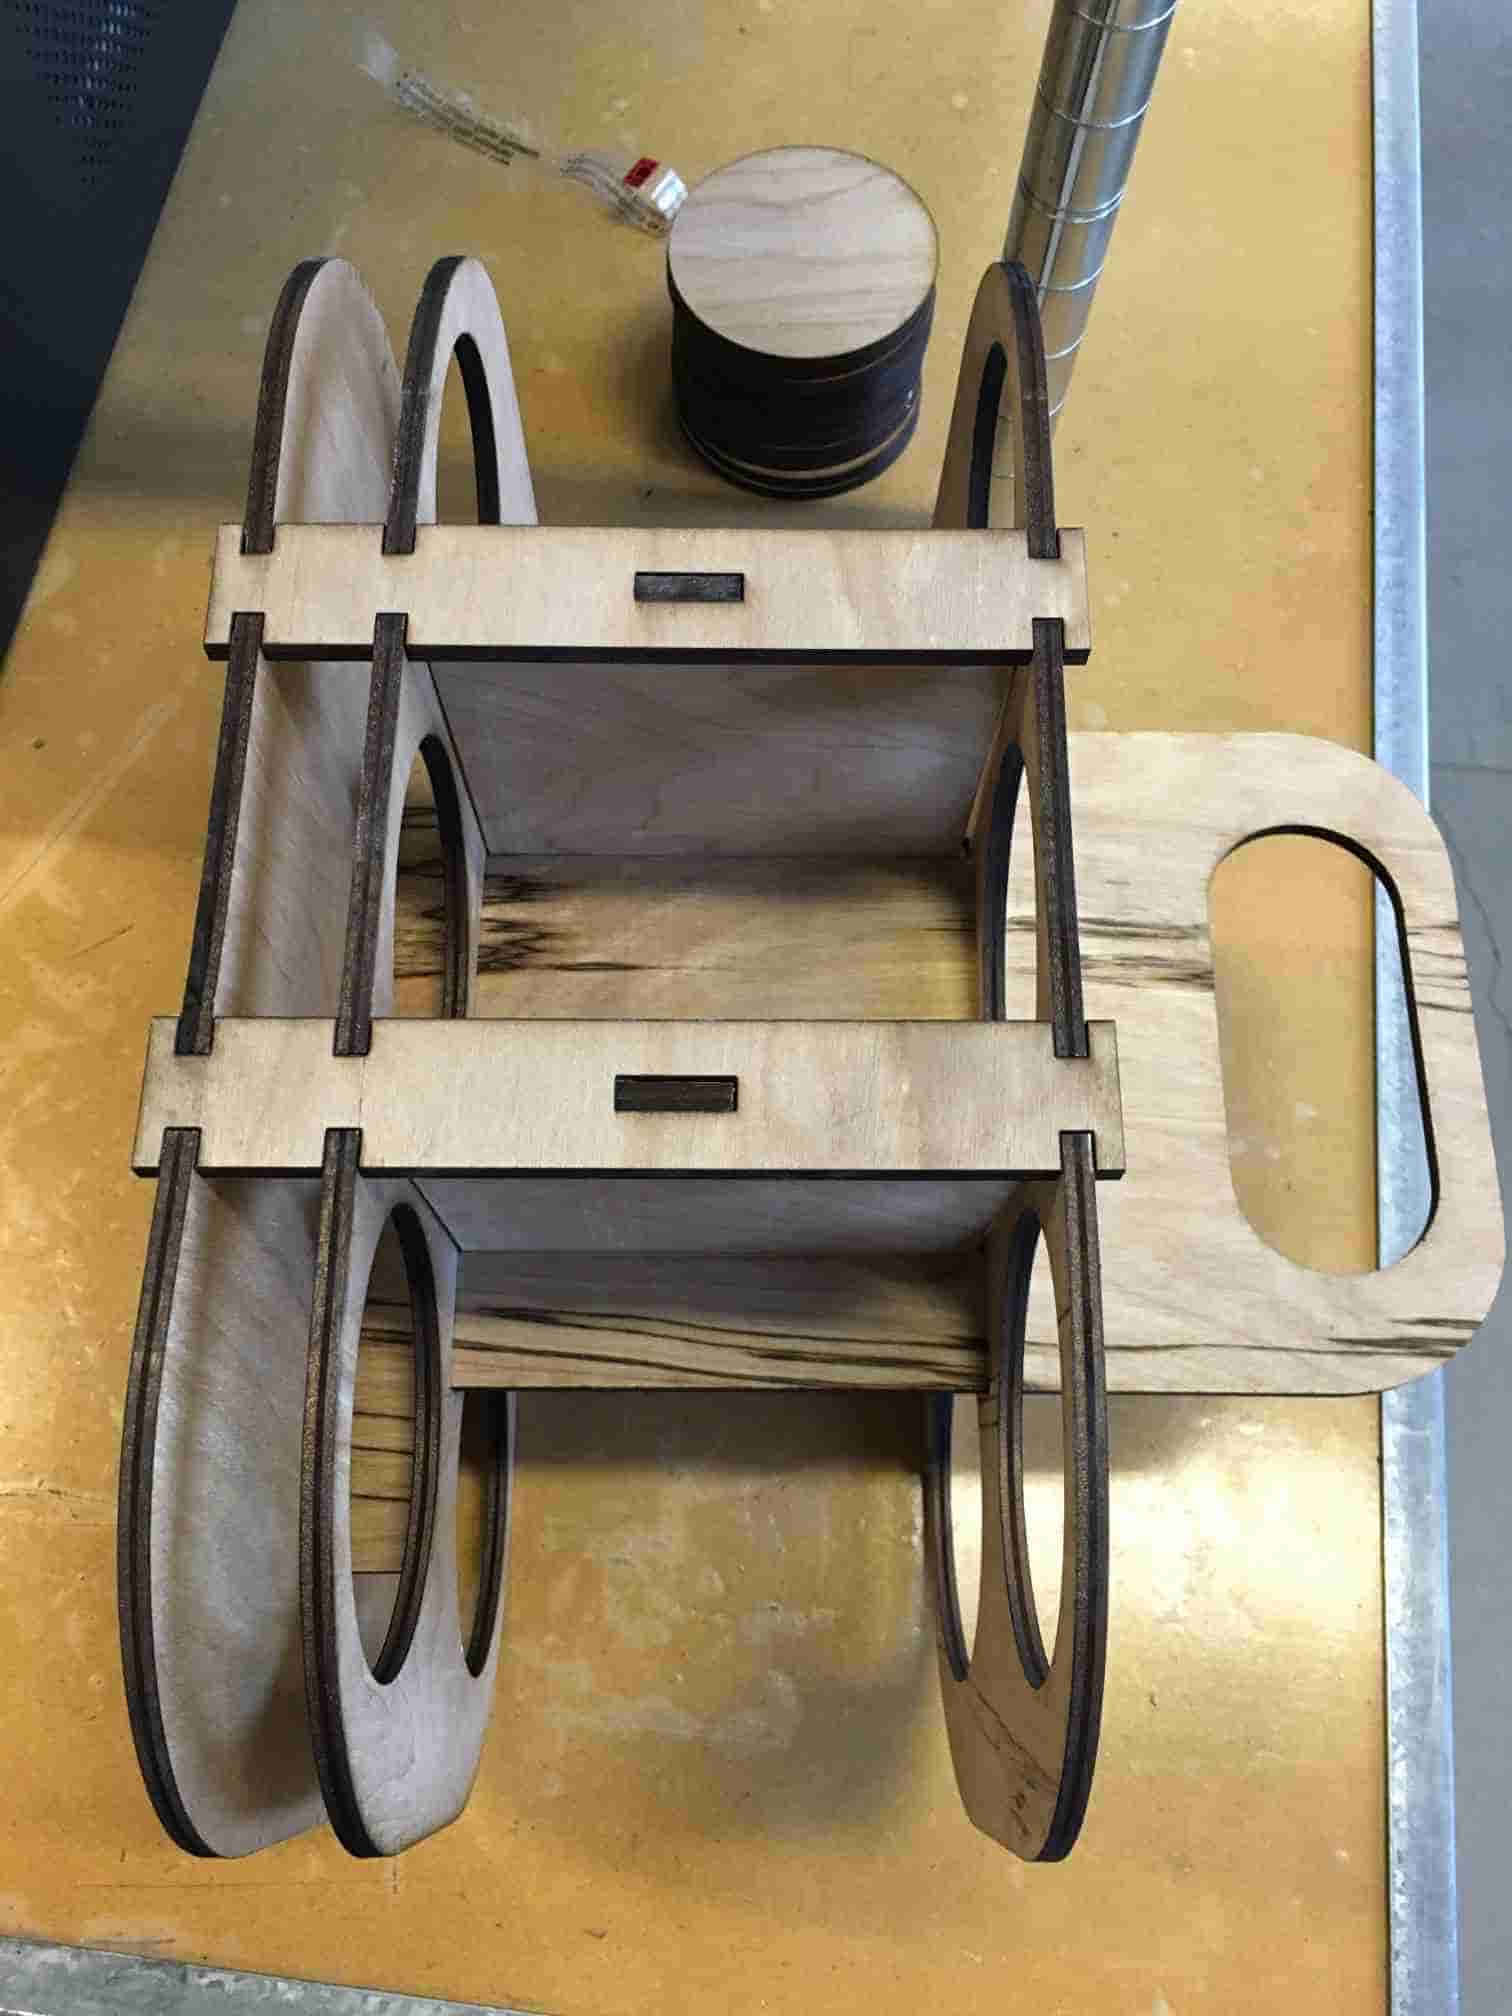
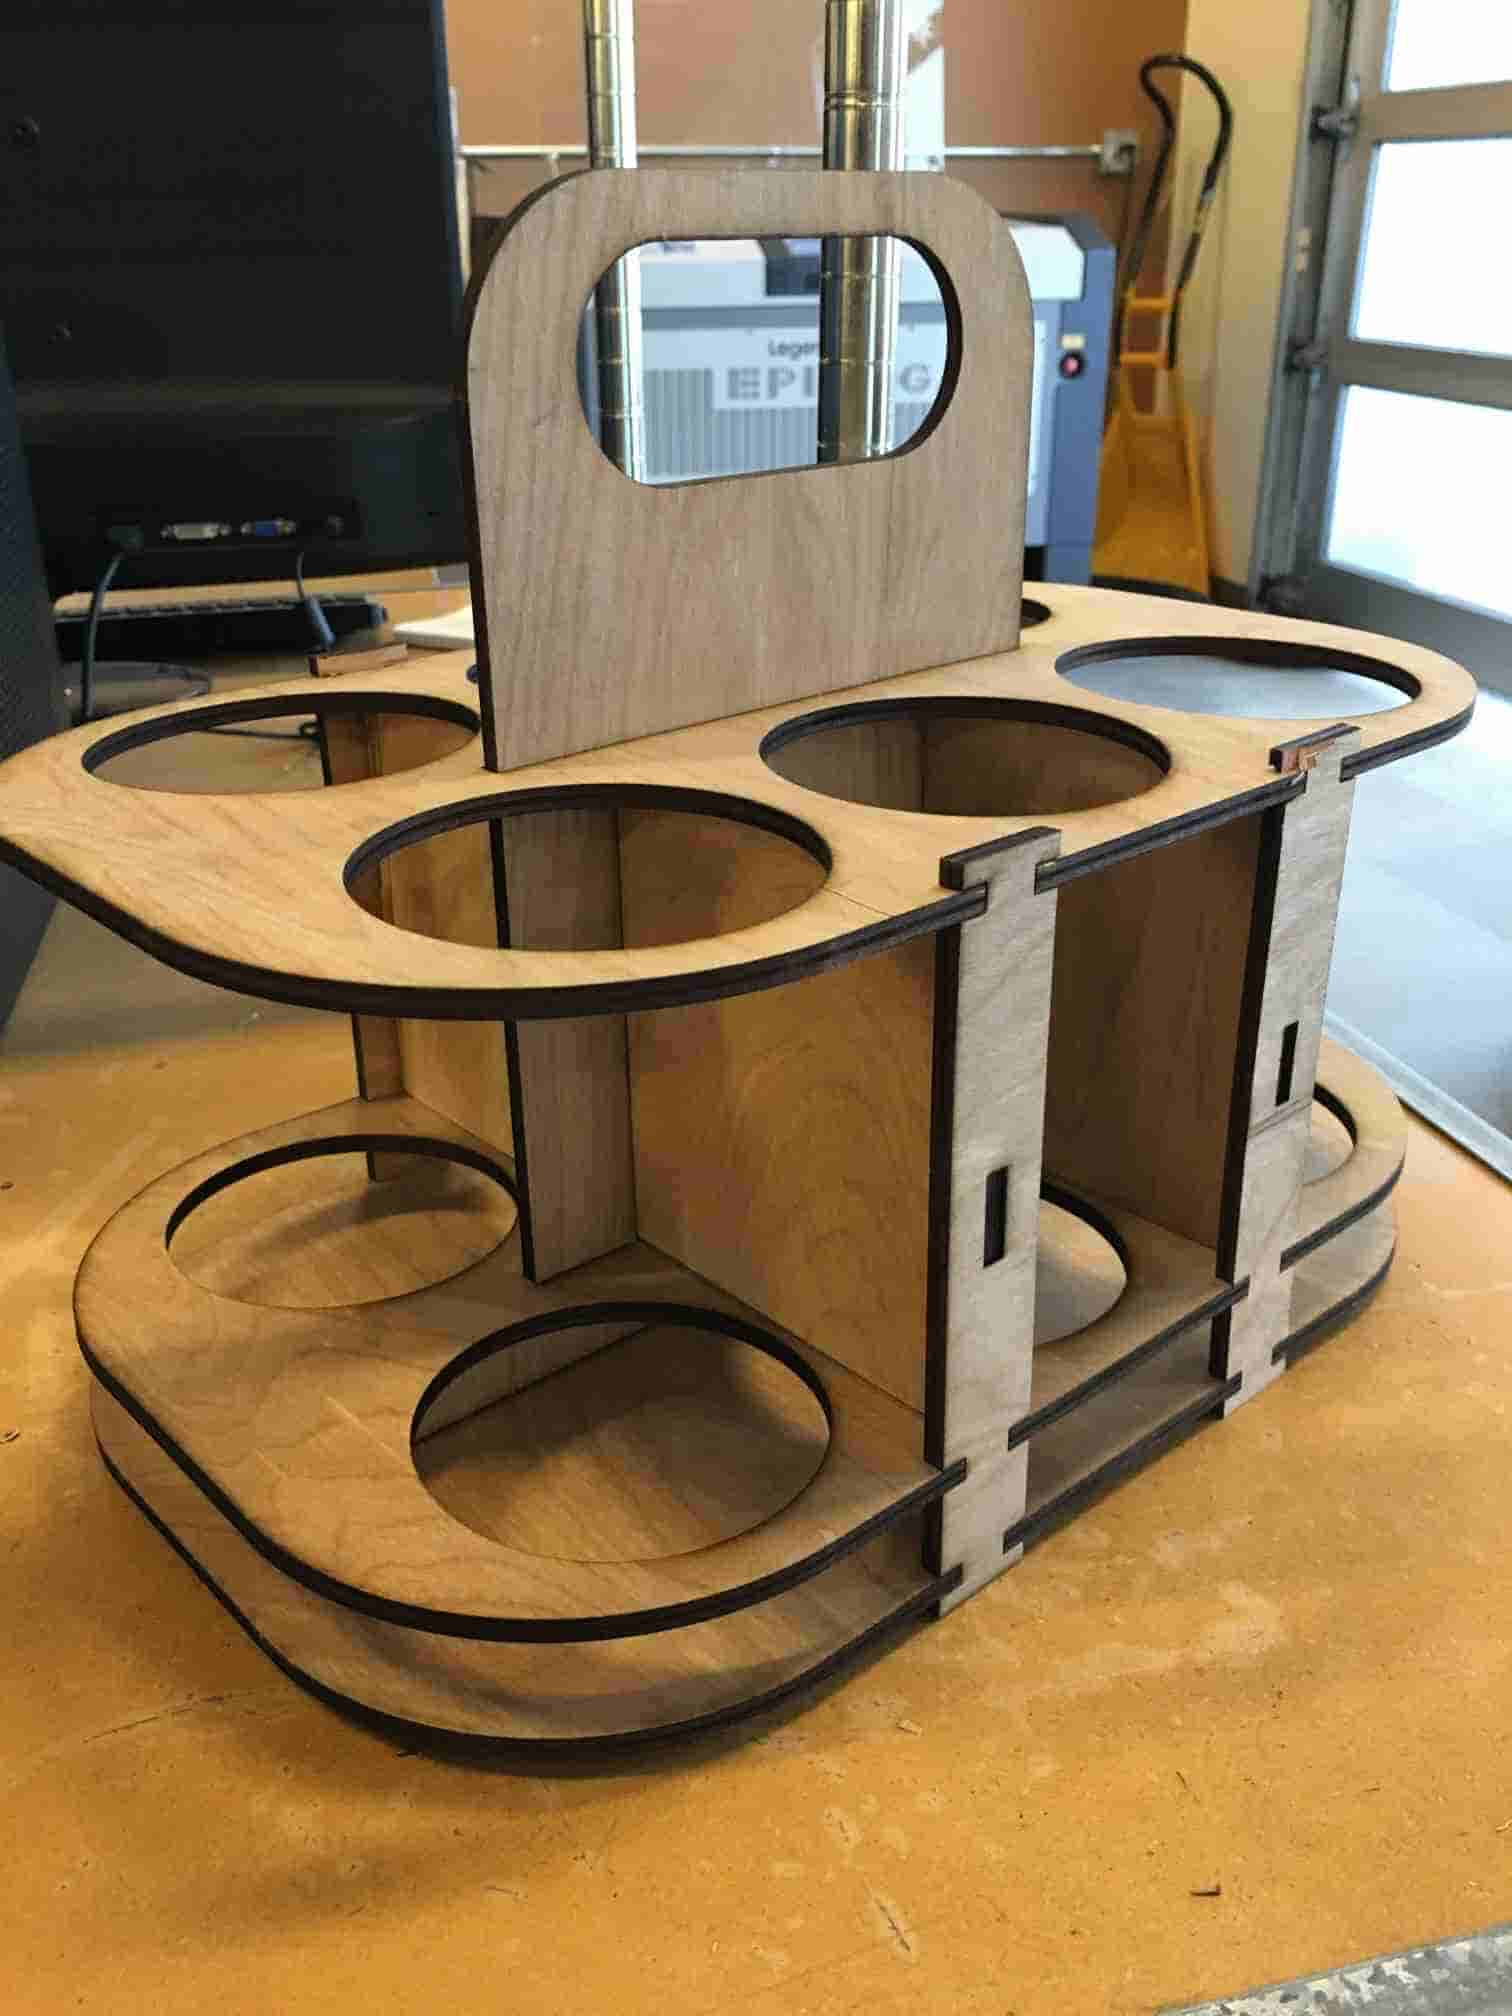
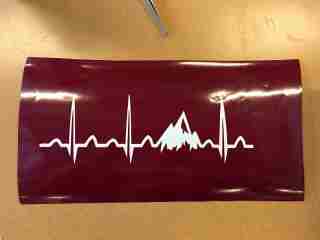
Figure 9: Finished Pieces Put Together

Testing Out Different Notches

Before building my own design I wanted to test out different notches to figure out what size is best in building a press fit design. Using Adobe Illustrator, I built a simple piece with different sized notches in them starting with a 0.2" notch. From there the notches were 5% smaller than the notch before it. After testing out each notch, I figured that the best size were the 6th or 7th notch. Anything bigger provided to much room and anything smaller made it too hard to fit together. Figure 10 and 11 show the design and testing out the notches. One lesson I learned from this was make sure your settings are right on the laser cutter. I didn't make sure the frequency was down to 500 Hz and instead it was on 2500 Hz. This almost caused the cardboard to catch on fire which would have been bad. So make sure all your settings are right before cutting on the laser cutter.
Figure 10: Test Notches Built in Adobe Illustrator
Figure 11: Testing Out Notches and Figuring out Best Fit

Own Press Fit Design

Now that I was use to the laser cutter it was time to come up a design to build myself. After doing some research on the interwebs, I came across a design for a 6-pack bottle holder as shown in Figure 12. Using the program Creo, I was able to build a 3D model of each seperate component. A full assembly of the bottle holder is shown in Figure 13. Since I was confident with the program that all the parts would fit together, I had to figure out a way to import the line drawings from Creo to Adobe Illustrator for the laser cutter. To do this, I took a part and made a new drawing in Creo and placed the part on the drawing so it would give me the right layout for the cutter. I had to change the view state to a wireframe so that the drawing only contained lines. From here, I saved the Creo drawing as a .pdf file so that Adobe Illustrator could open the file. Once in Adobe Illustrator, I changed the line thickness from the default of the .pdf file to 0.0001" thick so the laser cutter knew to cut this design instead of engraving. I repeated this process for the other components and then made a full layout of all the parts in Adobe Illustrator. Figures 14-17 show this process.
Figure 12: Design of Press Fit Bottle Holder
Figure 13: Full Assembly of 3D Components Built in Creo
Figure 14: Creating a New Drawing in Creo of 3D Component
Figure 15: Wireframe Drawing Created in Creo
Figure 16: Saving Wireframe Drawing as a .pdf file for Adobe Illustrator
Figure 17: Full Layout of All Components Ready for Cutting

Once this was completed, I was ready to test my design on some cardboard. After measuring out the right piece for the laser cutter, I printed my design and assembled it. These are shown in Figures 18-22. After printing the design and assembling, I noticed that the middle supports were keeping the top of the holder from meeting the side supports. What I learned from this is that you should not always trust your design in a computer program fully. I took the cardboard cutout home and also tested to see how well it held bottles. My plan was to follow the original design and for it to just hold a standard 12 ounce (355 ml) bottle. However, it seems that I over built it, as shown in Figure 23, and now it will be holding wine bottles or 22 ounce (650 ml) beer bottles.
Figure 18: Measuring Out Piece of Cardboard for Laser Cutter
Figure 19: Laser Cutter Cutting out Design onto Cardboard
Figure 20: Fully Assembled Design of Bottle Holder
Figure 21: Top View of Bottle Holder
Figure 22: Side View of Bottle Holder
Figure 23: Testing out Design with Different Bottles

I now wanted a wood design of this bottle holder since the original design was made of wood and I liked the burnt look of it. In our lab we had a new sheet of 0.2" plywood and I thought this would be good, however all off the slots in the 3D model had to be changed since they were the thickness of the cardboard. After going back and changing these I made new drawings and laid them out in a new file to be cut. Another thing I changed was the design of the side supports. I added another tab on the top that held the top of the holder down which ensured a snugged fit and also I would not have to add any screws into the side supports like the original design. Another design change I made was I made the middle supports shorter as they were too tall in the cardboard design. Once the design was laid out in Adobe Illustrator I measured out a piece of wood I would need. Once cut, I noticed it had a good amount of bow in it and had to wet and clamp the piece down and leave it overnight so it would lay flat in the laser cutter. After leaving it overnight, it still had a little bow in it, but it was a lot better than the day before and was ready to be cut. After cutting, I started to assemble it and noticed the middle supports were again too tall for the design. I took some sandpaper and sanded them down until the parts fit together well. Figures 24-28 show this process and the final design made out of the plywood.
Figure 24: Clamping Down Plywood to get Rid of Bow
Figure 25: Laser Cutting the Plywood of Bottle Holder Design
Figure 26: Top View of Full Assembly of Bottle Holder
Figure 27: Side View of Full Assembly of Bottle Holder with New Side Supports
Figure 28: Super Awesome Wood Bottle Holder

Vinyl Cutting

Part of this weeks assignment was to come up with a design to cut out on the vinyl cutter. For this project I decided to use the program Inkscape. I decided to use this program after watching a tutorial on Youtube on how to make vinyl decals using this program. The video I watched can be found here: Inkscape Tutorial. Since I like the outdoors, I wanted to make a design that expressed that. A design I have been seeing more of lately has been the "Mountain Heartbeat." Using the techniques described in the above video I was able to trace out a design in Inkscape. The finished design is shown in Figure 29. I then took this file in inkscape and exported it to Adobe Illustrator. I did this after trying to print out the design onto vinyl from Inkscape. For some reason it did not like the file from Inkscape and made too big of cuts, ruining the design and making it unusable. Another thing I did was I removed the black color fill in Adobe Illustrator so it was just a line design. The vinyl cutter liked this a lot better and the finished vinyl cut is shown in Figure 30. From here, I applied a backing so I could lay the design in a frame. After the design was applied to the frame, I had to carefully removed the back so the design was kept in the frame. This took a careful hand because I did not want to ripped off any part of the design. Figure 31-33 shows the design being applied in the frame and ready to be put onto a shirt or anything.
Figure 29: Inkscape Design of Mountain Heartbeat Image
Figure 30: Finished Vinyl Cut with Material Peeled Away
Figure 31: Applying Backing to put into Frame
Figure 32: Applying Design into Frame
Figure 33: Design Applied in Frame and Ready

The design is now ready to be applied to a shirt. To start this I had to first tape up all the edges so that when the paint was applied it would only put the design on the shirt. Once that was done, Steven Fett helped me in keeping the shirt steady on the table by clamping it down. After this, I applied the paint in the frame, learned that you only need a little and as you can see in the photos, I used a lot. Oops. Anyways, I am happy with how the design was laid out and the final product on the shirt. Figures 34-37 show this process as described above.
Figure 34: Design Taped and Centered on Shirt
Figure 35: Clamed Design to Table for Steadiness
Figure 36: Applying Paint onto Design (bit too much)
Figure 37: Design Applied Successfully onto Shirt

Project Files

Stanford Tutorial
Part Files for Carrier
PDF Drawings of Parts
Press Fit Tutorial
Bottom
Bottom
Adobe Illustrator Test Slots
Middle and Top
Middle and Top
Test Slots
Middle Support
Middle Support
Vinyl Cut Design
Side Support
Side Support
Mountain Heartbeat Cut
Handle
Handle
 
Full Assembly